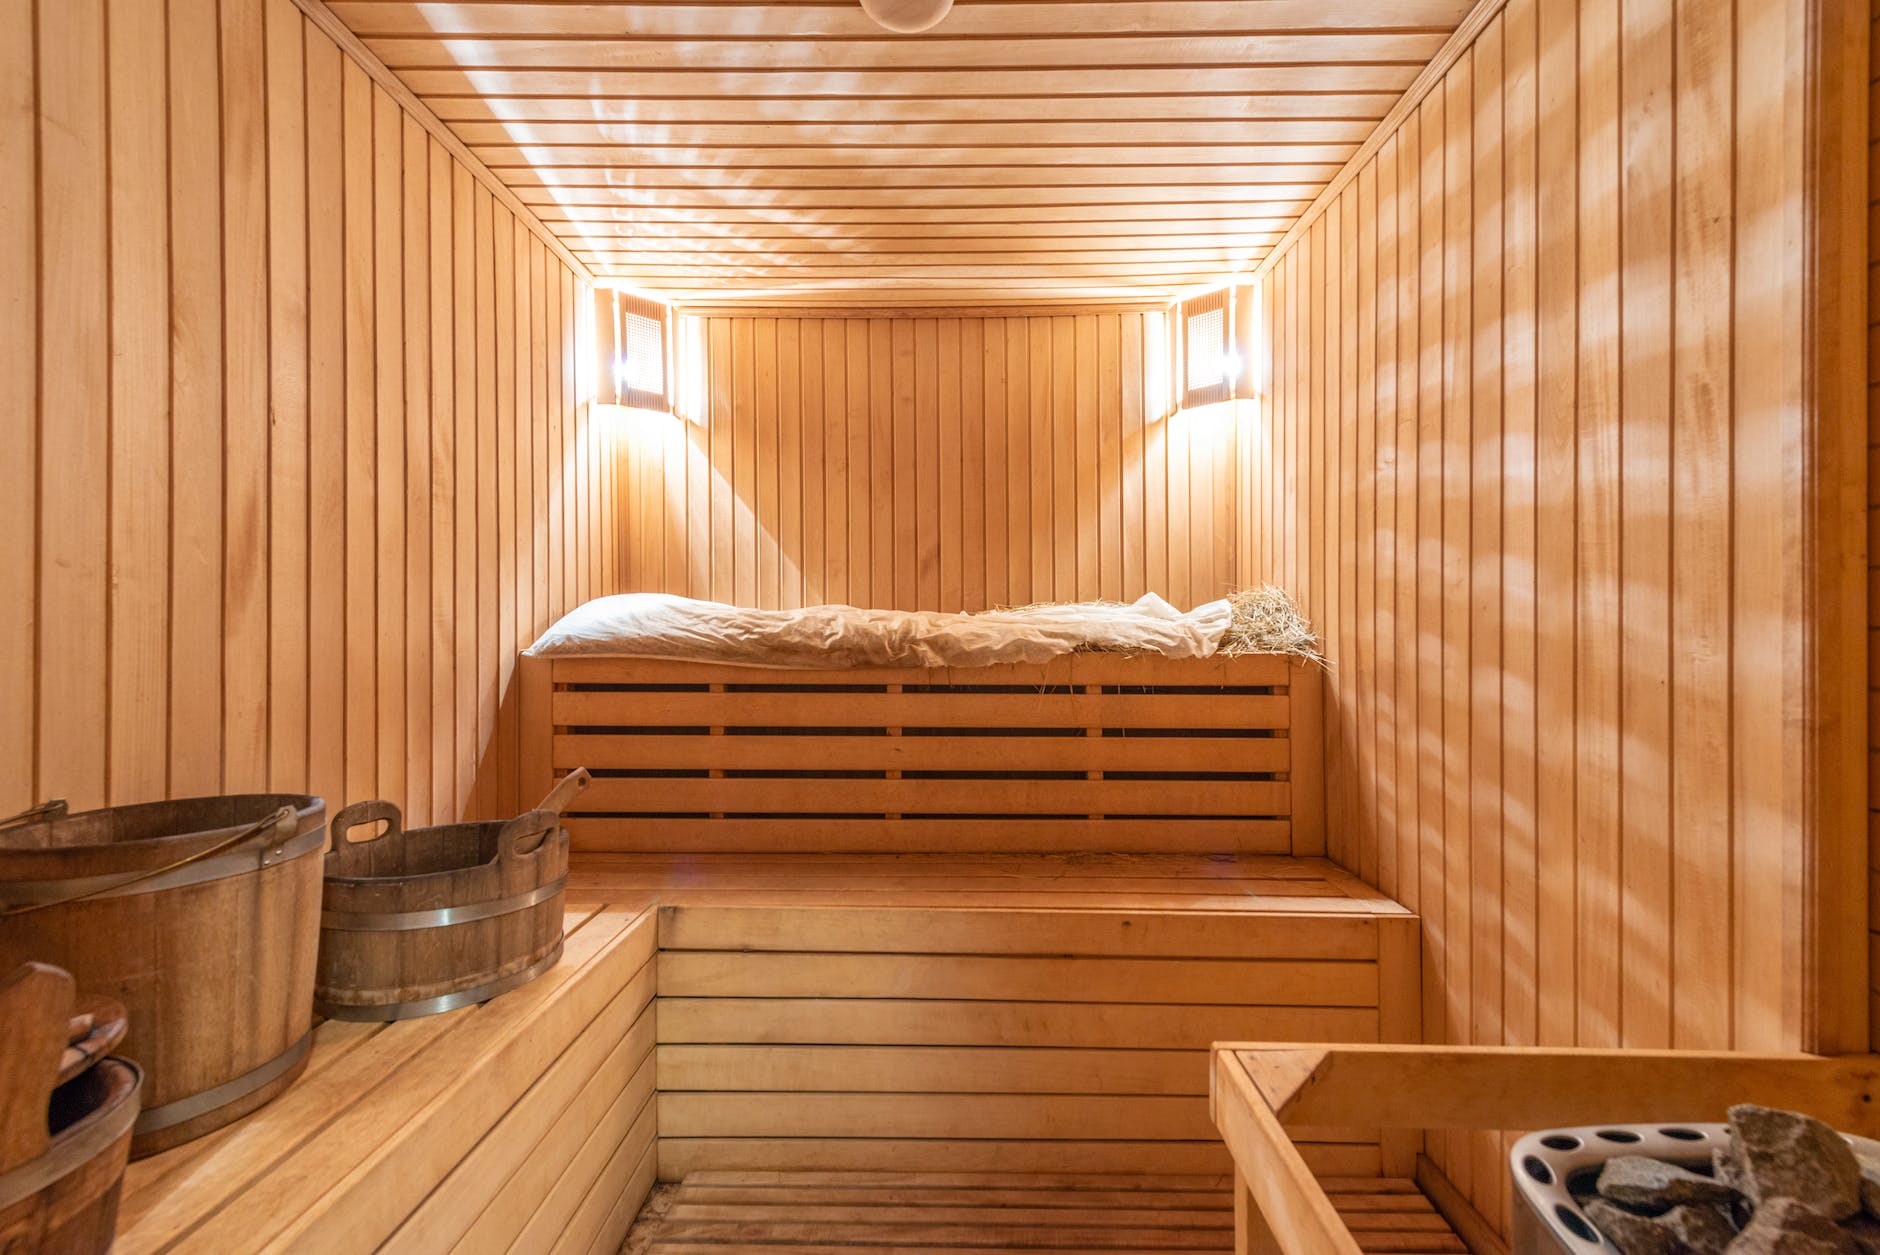
Infrared Sauna
In recent years, more and more people have been turning to infrared saunas as a way to relax, detoxify and improve overall health. Unlike traditional saunas, which use steam or hot rocks to heat the air around you, infrared saunas use infrared lamps to directly warm your body. This results in a more gentle and comfortable experience, making it an ideal choice for those who are sensitive to high temperatures.
One of the biggest advantages of at home infrared sauna is that they can be easily installed in your own home, allowing you to enjoy all the benefits at any time in the comfort of your own space. In this step-by-step guide, we will take you through the process of setting up an at-home infrared sauna.
Step 1: Choose the Right Sauna for Your Space
Before you can start setting up your at-home infrared sauna, you need to find the right one that fits your space and needs. There are various types of saunas available, such as portable models, pre-built rooms and DIY kits. Consider the size of your room, budget and personal preferences when making your decision.
Step 2: Prepare the Space
Once you have chosen your sauna, it’s time to prepare the space for installation. The first step is to make sure that your chosen location has proper ventilation. This will not only improve air circulation but also prevent mold and mildew from forming inside the sauna. You may also want to consider installing a small fan to circulate the air even more.
Next, lay down a waterproof flooring material such as vinyl or tiles. This is important as saunas produce moisture and heat that can damage certain types of flooring. It’s also recommended to have at least six inches of space between your sauna and any walls or furniture for proper airflow.
If you have chosen a larger sauna, you may need to consider hiring a professional to help with the installation.
Step 3: Assemble Your Sauna
If you have opted for a portable or DIY sauna, follow the instructions provided by the manufacturer for assembly. Be sure to use proper safety precautions and wear protective gloves when handling any equipment or tools. For pre-built saunas, you will simply need to place the unit in your chosen location.
Step 4: Connect the Power
Next, you will need to connect your sauna to a power source. Most infrared saunas require an outlet of 120V/15A but be sure to check the specific requirements for your model. If needed, hire an electrician to install a new outlet in your space.
Step 5: Set Up the Control Panel
Your infrared sauna will come equipped with a control panel that allows you to adjust the temperature and time settings. Follow the manufacturer’s instructions for setting up and programming your control panel.
Step 6: Test Run
Before using your sauna, it’s important to do a test run to ensure everything is functioning properly. Turn on the sauna and let it run for a short time, checking for any unusual noises or smells.
Step 7: Enjoy Your Sauna
Once you have completed all the steps and are satisfied with the setup, it’s time to enjoy your at-home infrared sauna! Start off with shorter sessions and gradually increase the time as your body adjusts to the heat. Keep a towel and water bottle nearby for added comfort and hydration.
Additional Tips:
- Clean your sauna regularly to prevent bacteria growth
- Use essential oils or infrared-friendly cleaners for a refreshing scent
- Make sure to drink plenty of water before, during and after using the sauna to aid in detoxification
- Consult with your doctor if you have any medical conditions before using an infrared sauna
- Don’t use the sauna if you are pregnant, have a pacemaker or any metal implants in your body
- Always follow safety precautions and turn off the power when not in use.
With these simple steps, you can easily set up an at home infrared sauna and reap all the benefits it has to offer. Whether it’s for relaxation, detoxification or improving your overall health, an infrared sauna is a great addition to any home. So why wait? Start enjoying the warmth and comfort of your own personal sauna today! Remember to always follow the manufacturer’s instructions and consult with a professional if needed for proper installation and maintenance. Happy sauna-ing!


